
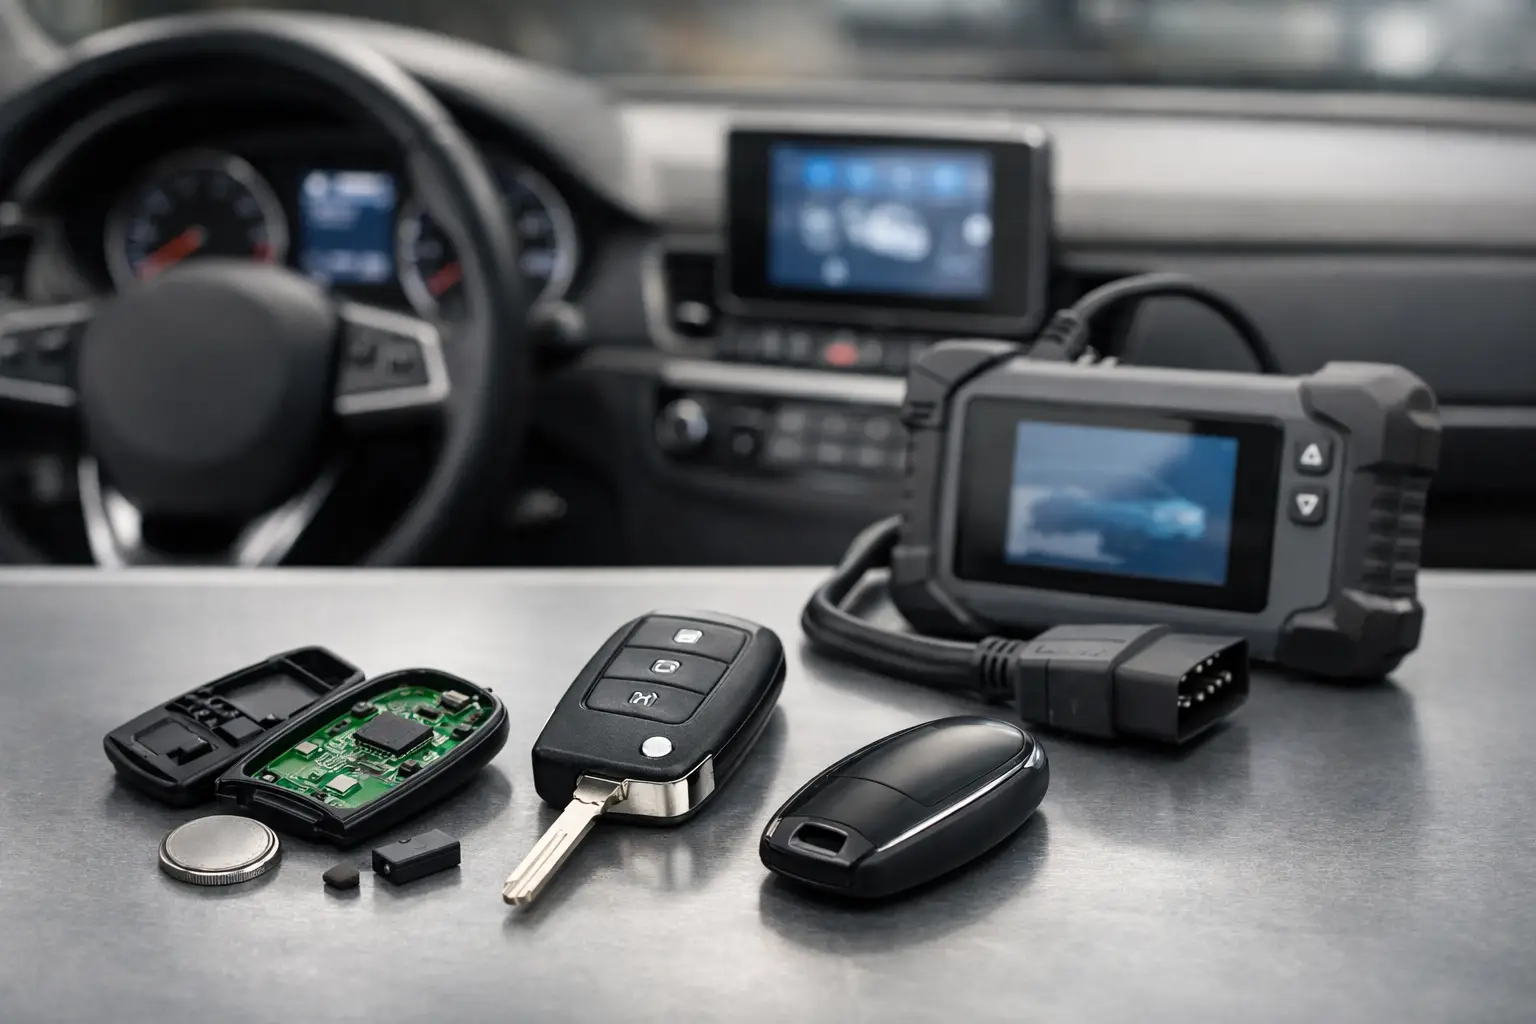
How to Check Key Chip Type Before Car Key Replacement
A replacement key can look correct, have the right blade and even have matching buttons, yet still fail to start the vehicle. The usual reason is the transponder. Knowing how to check key chip type before ordering helps avoid wasted time, unnecessary programming appointments and buying a remote that is not suitable for your car.
For vehicle owners, the aim is to provide accurate key details to a supplier or automotive locksmith. For garages and key professionals, it is about confirming the correct transponder, remote board and programming route before committing stock to a job. In both cases, do not rely on appearance alone.
What a key chip type actually means
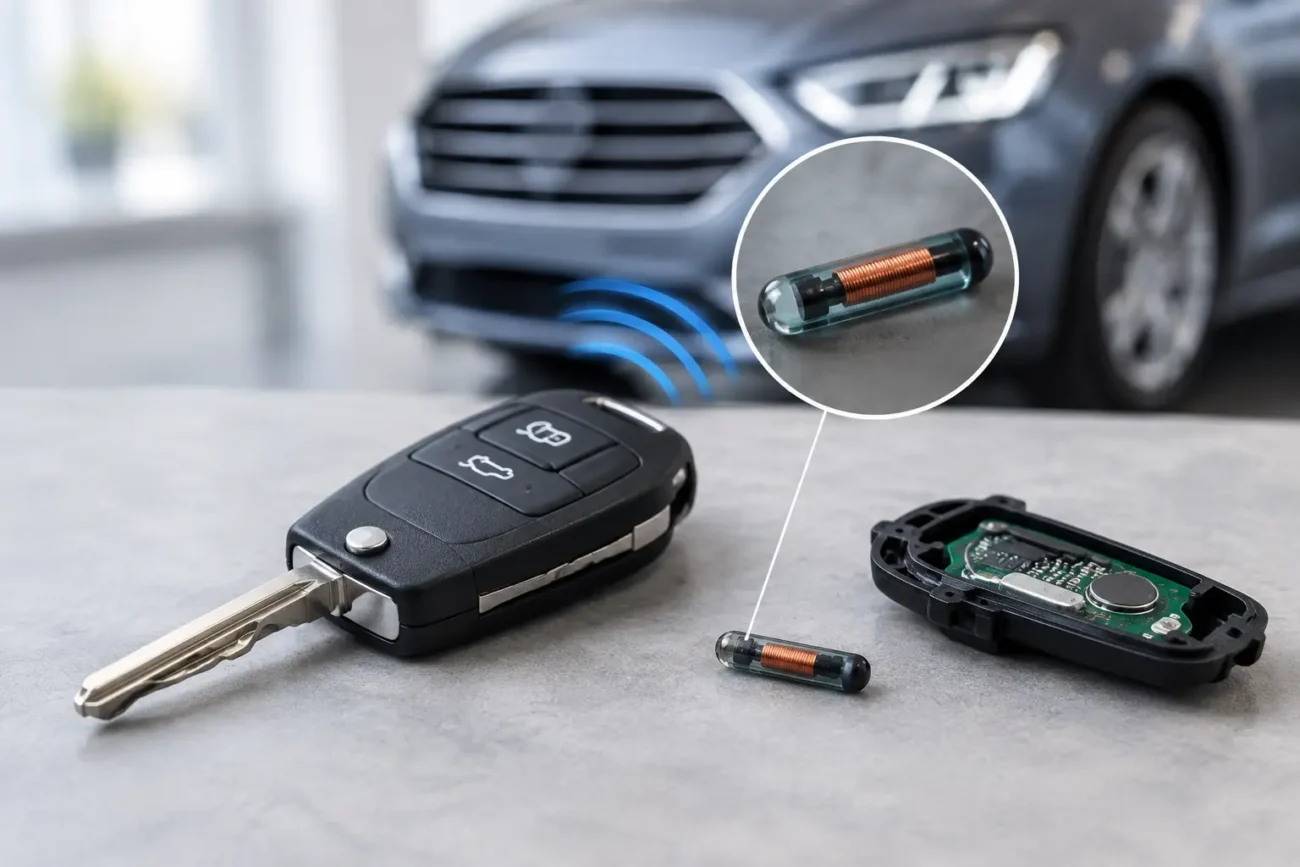
Most modern vehicle keys contain a small transponder chip. This chip communicates with the car’s immobiliser when the ignition is switched on or, on keyless systems, when the key is detected inside the vehicle. If the immobiliser does not recognise the chip, the engine will normally not start.
Chip type refers to the transponder technology fitted inside the key. You may see it described by families such as ID46, ID48, ID4A, 4D, 4D63, 4D70, 4C, HITAG or PCF79xx. These descriptions are useful, but they are not a substitute for checking the vehicle and key details. A manufacturer may use different chips across model years, engine variants, markets and key generations.
The chip is separate from several other key specifications. The blade profile determines whether the key turns in the lock. The remote frequency controls central locking functions. Button layout affects the casing and remote operation. The printed circuit board, or PCB, determines how the remote electronics work. All of these details need to match the intended replacement, but none confirms chip type on its own.
Start with the information you already have
The original working key is the best reference point. Before opening it or arranging any programming, record every visible identifier. This gives you a far stronger starting point than searching by vehicle make alone.
Check the key casing and PCB for a manufacturer part number, supplier code, frequency marking and FCC or CE-style approval references. A part number is often the most useful identifier because it can link the key to a specific remote board and transponder configuration. Photograph both sides of the key and, if accessible without damaging it, both sides of the PCB.
Also record the registration number, make, model, year of first registration, fuel type, engine size and number of buttons. The vehicle identification number can be especially helpful for trade diagnostics and catalogue checks, although it should be handled carefully and only shared with trusted service providers where needed.
A key marked 433 MHz, for example, is not automatically the correct key simply because your existing remote also shows 433 MHz. Many vehicles use that frequency with different boards, chips and blade combinations. Treat frequency as one compatibility check, not the final answer.
Check the original key’s part number
Part numbers may appear on the rear of the remote casing, beneath a battery cover, on a label, or directly on the circuit board. They can contain letters, numbers and hyphens, so copy them exactly. One changed character may point to an entirely different version.
Where the outer shell has been replaced previously, the casing number may no longer reflect the electronics inside. In that situation, PCB markings are generally more reliable. A worn key can also lose printed detail, so clear photographs taken under good light are worthwhile.
Use vehicle data, but do not over-trust it
Vehicle year and model are useful filters. They narrow down the likely key generation and can identify changes made during production. However, registration year can be misleading where a vehicle was built late in one year and first registered in the next, or where a model has a mid-cycle key update.
For this reason, a product described as suitable for a particular make and model should still be checked against its listed part numbers, chip type, frequency, blade and button configuration. This is particularly relevant for popular platforms shared across several marques.
How to check key chip type with a transponder reader
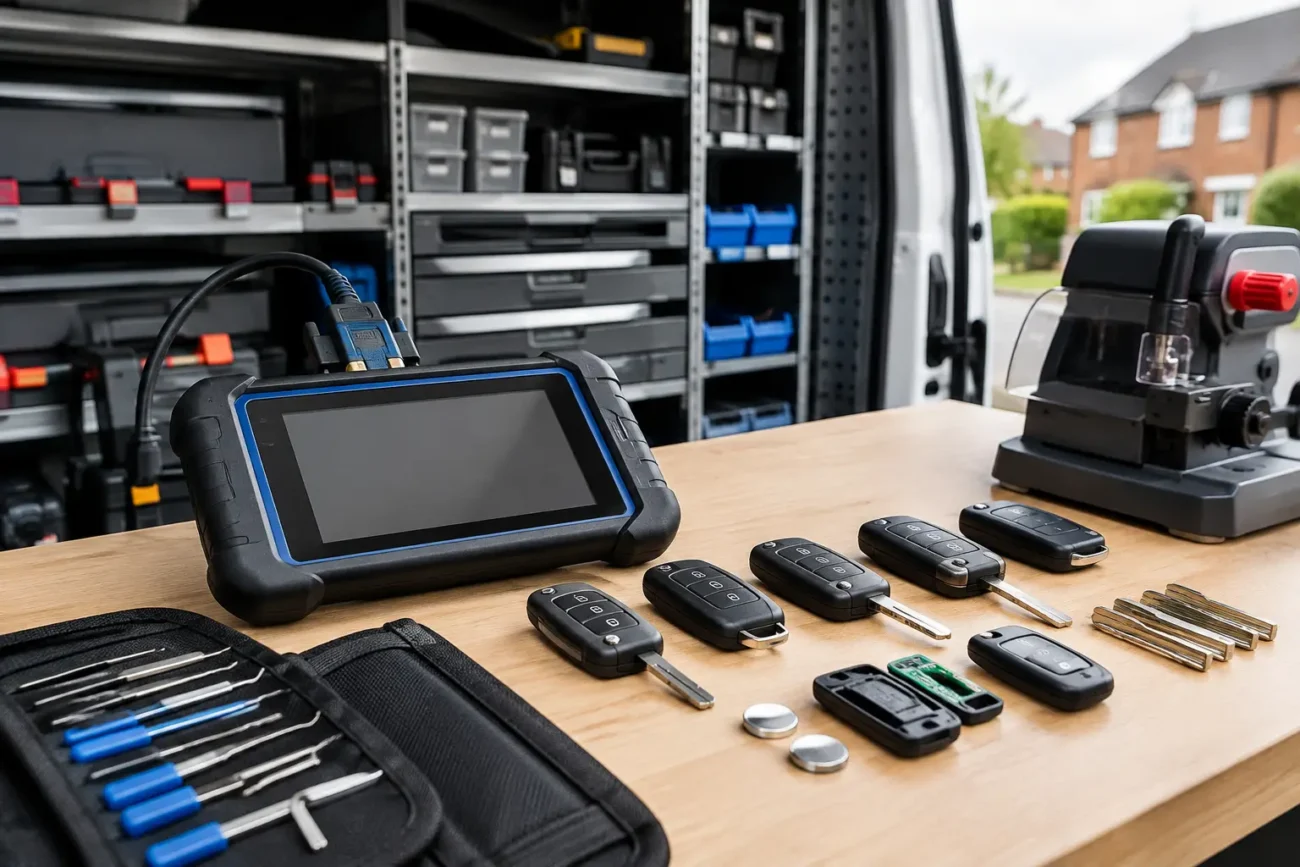
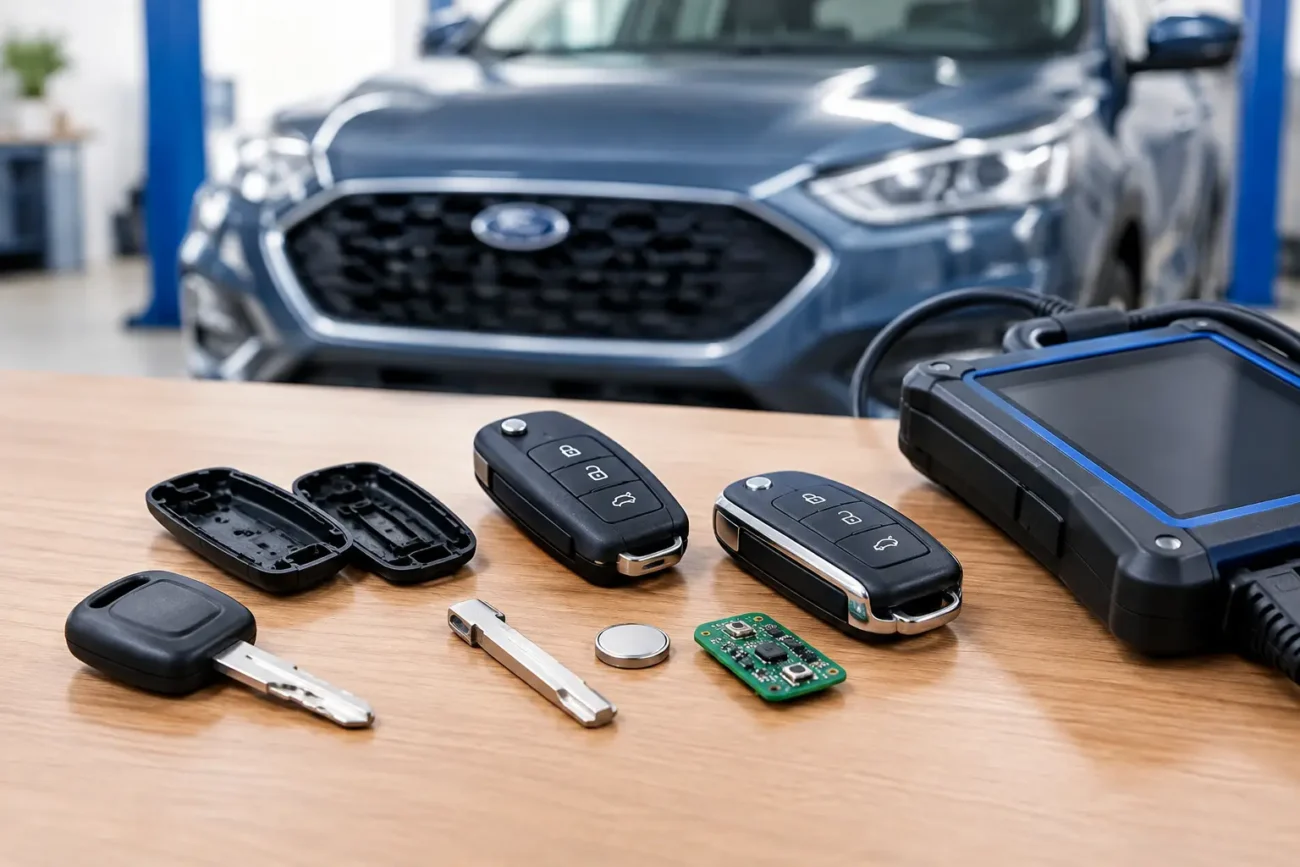
A dedicated transponder reader is the most direct way to identify a chip in a working key. Tools used by locksmiths and automotive technicians can detect the transponder family and, depending on the chip and tool, display the type, serial information and whether the chip is reusable or locked.
Place the key in the reader’s specified position and follow the tool’s normal identification process. The reading may identify the chip as a known type such as ID46 or ID48, or provide a more detailed chip reference. Record the result alongside the key part number rather than relying on either detail in isolation.
This method is particularly useful when the chip is hidden inside a remote case and there are no clear markings. It is also helpful for keys that have had replacement shells fitted, because it identifies the transponder actually present rather than the shell style.
There are limits. Some smart keys use integrated boards rather than a separate, easily read glass or carbon transponder. Others use encrypted systems where a basic reader can identify the family but cannot establish the full programming requirements. The reader result remains valuable, but a compatible replacement should still be selected by cross-checking board number and vehicle application.
When diagnostic equipment provides the answer
For professional users, diagnostic or key programming equipment can often identify the immobiliser system and supported key type through the vehicle. This is useful where there is no readable original key, where the key is damaged, or where the job involves confirming the system before ordering stock.
The exact information available depends on the vehicle and tool. Some systems report immobiliser generation or key quantity rather than a simple chip name. That can still guide the correct choice when combined with vehicle data and catalogue information.
Use diagnostic equipment within authorised repair and key programming procedures. Its role here is to confirm compatibility for a legitimate replacement key, not to defeat vehicle security. If the system data conflicts with the key in hand, pause and investigate. The key may be an earlier replacement, from another vehicle, or fitted with an unsuitable board.
Can you identify the chip by opening the key?
Sometimes, but it is not always the best first step. Older remote keys may contain a separate transponder capsule, often a small glass tube or black carbon block positioned inside the shell. In these cases, the chip may have a visible code or can be tested in a reader once removed.
Many later keys place the transponder function on the PCB or within a component that is not obvious to the eye. Opening the key may therefore tell you little, while creating a risk of snapping clips, dislodging a battery contact or damaging the remote board.
If you are transferring electronics into a replacement shell, make sure every component from the old key is moved across where required. The small transponder is easy to overlook, and leaving it in the damaged shell is a common reason a newly cased key starts neither the vehicle nor the owner’s day well.
Common mistakes when ordering a replacement key
The most costly error is ordering by vehicle make, model and year only. These details are helpful, but key systems change more often than many buyers expect. A visually identical three-button remote may be supplied with different chip types or frequencies.
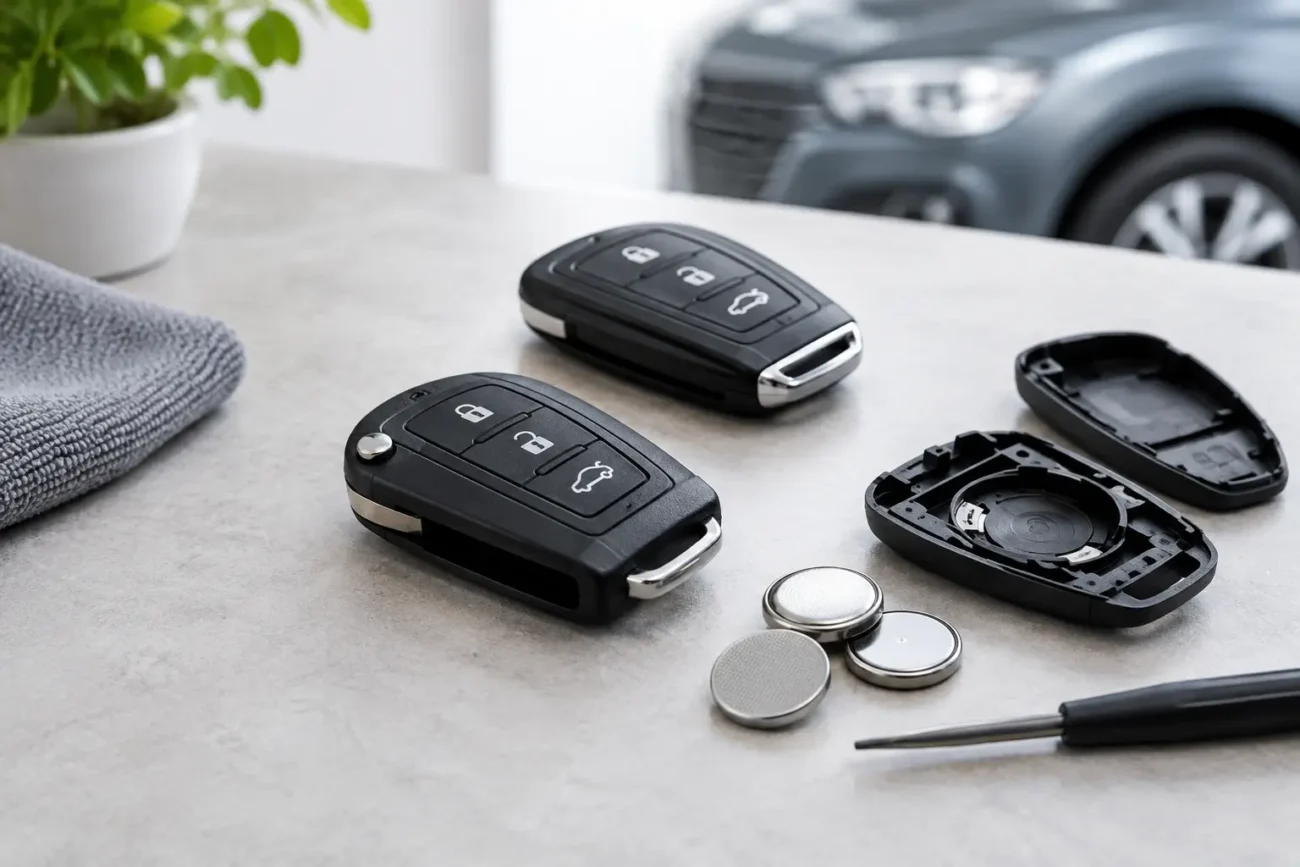
Another frequent issue is confusing a replacement shell with a complete remote key. A shell is designed to house existing electronics and usually does not include a programmed transponder or remote PCB. It is an economical solution where the original board and chip still work, but it will not replace missing electronics.
It is also worth separating a key that starts the engine from a remote that locks and unlocks the vehicle. A transponder issue affects immobiliser recognition. A frequency, PCB or button issue may affect remote central locking. One fault does not automatically diagnose the other.
Before placing an order, match these four areas:
- vehicle application and production period
- original part number or PCB reference
- transponder chip type and remote frequency
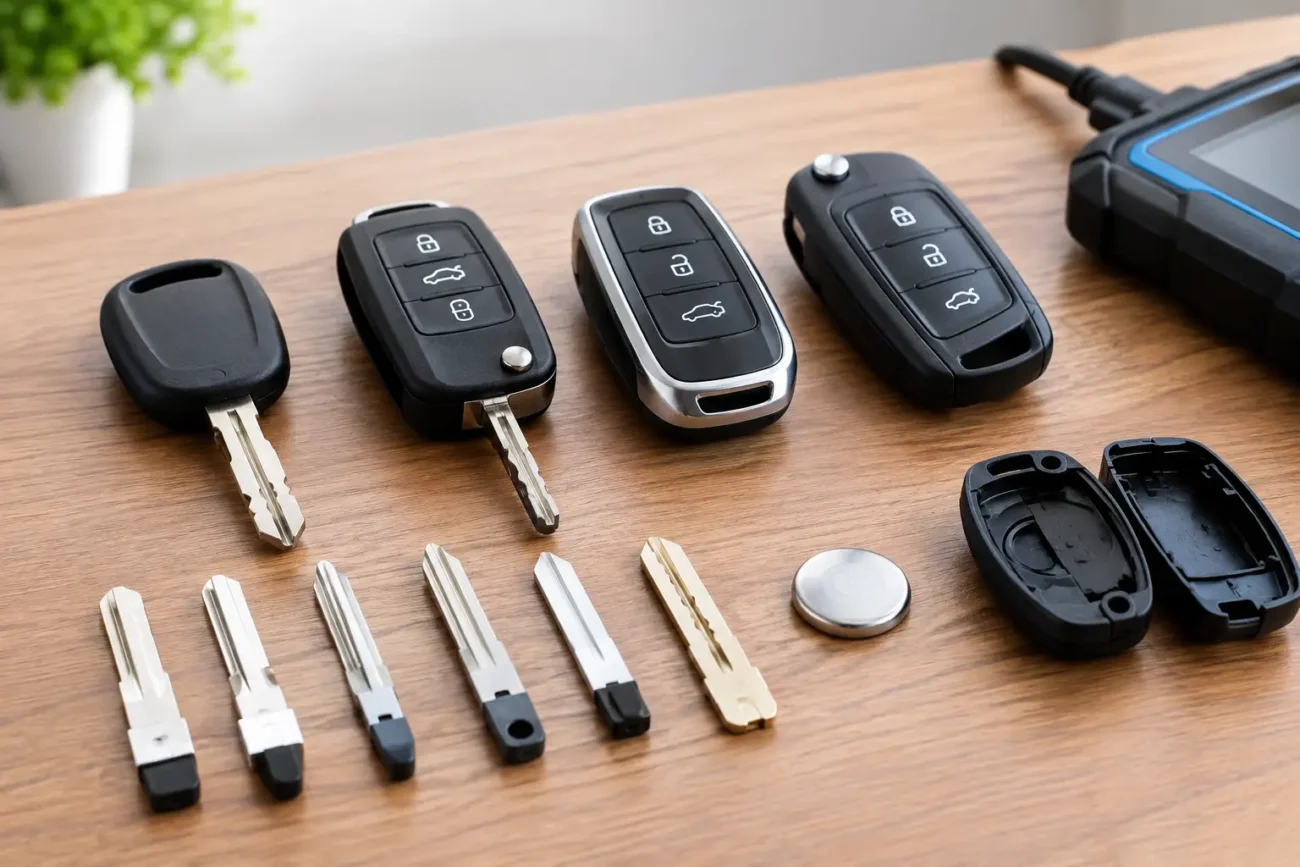
- blade style, button layout and key format, such as flip key or smart key
For trade work, retain the identification notes with the job. It reduces repeat checks if a customer later needs another spare key, a new shell or a replacement remote board.
What to do if you cannot confirm the chip
If the original key is lost, unreadable or badly damaged, do not guess. Gather the vehicle details, any remaining key fragments, service records and photographs of the ignition keyway or keyless fob where available. A professional key programmer may then establish the correct route using authorised diagnostic procedures and vehicle-specific information.
Where a second working key exists, use that as the reference rather than the missing key’s old casing. It is usually the quickest way to confirm what the vehicle currently accepts.
Global Keys Direct stocks replacement key products across a wide range of vehicle makes, from simple replacement shells to remote keys, smart keys and professional programming equipment. Checking fitment details before purchase keeps the process efficient and helps you select the right level of replacement for the job.
A few minutes spent confirming the chip, board and frequency is far cheaper than ordering twice. Start with the original key’s part number where possible, verify the transponder with suitable equipment, and treat every compatibility detail as part of the same check.
Add a review
Your email address will not be published. Required fields are marked *