
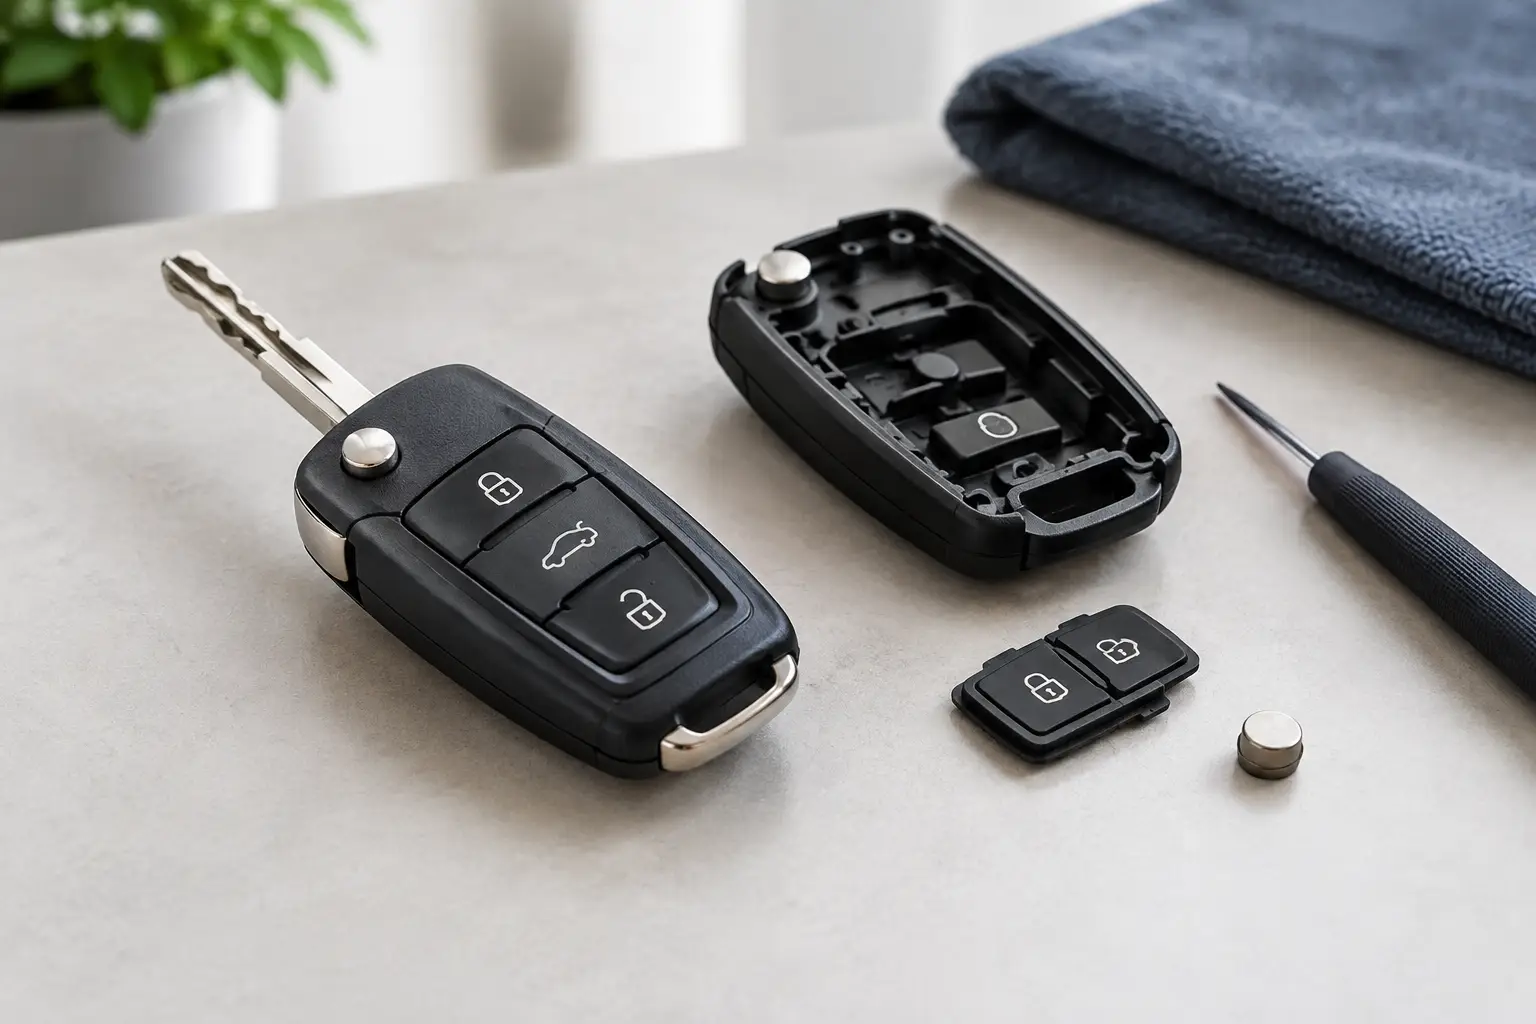
How to Replace a Worn Flip Key Button Safely
A flip key can still start the car perfectly while its lock, unlock or boot button becomes difficult to press. The usual cause is not a failed key – it is a worn rubber button pad, a damaged outer shell or a loose button actuator. Knowing how to replace a worn flip key button can save the cost of replacing a complete remote, provided the original electronics are still working.
For most vehicle owners, the practical answer is a replacement key shell with the same button layout and blade arrangement. For locksmiths and garages, the job is often a straightforward board transfer, but compatibility checks still matter. A shell that looks similar from the outside may have different internal locating points, blade pivots or button contact positions.
Identify what has actually worn
Start by checking what happens when you press the affected button. If the rubber has split, gone smooth or sunk into the casing but the remote still operates when pressed firmly, the outer button pad or shell is likely the problem. Replacing the shell is normally the most cost-effective route.
If the button feels normal but there is no response at all, do not assume the casing is at fault. Test the spare key if you have one, fit a known-good battery where appropriate, and check whether other remote functions still work. A failed battery, damaged circuit board, contaminated contact or faulty microswitch may require a different repair.
A useful distinction is between the external button and the switch on the circuit board. The external button is the rubber or plastic part your thumb presses. The microswitch is the small component on the board beneath it. A new shell can restore a worn external button, but it will not repair a failed microswitch.
Choose the right replacement shell
The replacement shell should match the original key as closely as possible. Do not buy on vehicle make alone. Manufacturers can use several key designs across the same model range, and even within the same registration year.
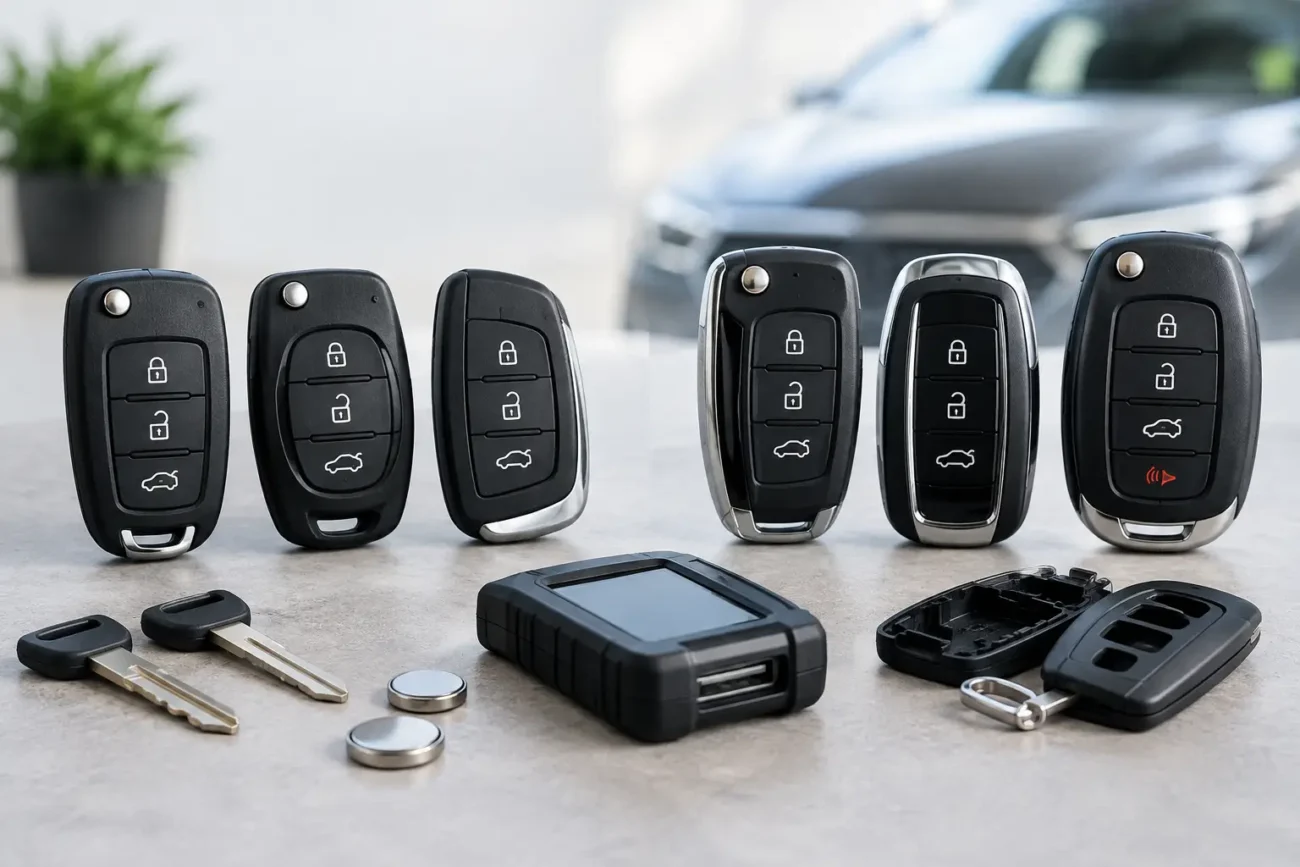
Check the number of buttons first. A two-button remote, three-button remote and four-button remote may use different internal boards even when the casing profile appears identical. Then compare the blade style, flip mechanism position, emergency blade arrangement and the shape of the circuit board. If the original casing has a reference number inside, use it as an additional check.
For reliable fitment, compare these details before ordering:
- Button count and button symbols
- Vehicle make, model and production year
- Blade profile and the position of the flip blade pivot
- Original part number, frequency or circuit-board marking where available
- Internal shell layout, including battery holder and board locating tabs
Frequency, chip type and programming requirements are especially relevant if you are buying a complete remote rather than a shell. For a shell-only repair, the aim is usually to retain the original board, battery and transponder chip. That preserves the existing remote and immobiliser information, so programming is commonly unnecessary.
What you need before opening the key
Work on a clean, well-lit surface. A small flat trim tool or precision screwdriver is often enough to separate the shell, while a small pin tool may be needed on some flip-blade mechanisms. Keep a small tray nearby for screws, pins and springs. They are easy to lose, particularly on older keys with spring-loaded blade assemblies.
Take clear photographs of the key before dismantling it. Photograph the button side, the blade side and the internal layout as soon as the shell is open. This takes less than a minute and makes reassembly much easier if the battery, chip or blade spring moves out of place.
Avoid forcing the seam open with a large screwdriver. Excess pressure can crack the circuit board, damage the battery contacts or snap the new shell’s clips. If the casing does not release easily, look for a hidden screw under the battery cover, label or keyring area.
How to replace a worn flip key button
First, remove the mechanical emergency blade if the design allows it, then open the old shell carefully along its seam. Some flip keys separate into a remote section and a blade section, while others use one combined casing. Keep the old shell nearby as a reference throughout the transfer.
Lift the circuit board out by its edges. Do not press on the microswitches, and avoid touching the battery contacts more than necessary. If the key contains a separate immobiliser transponder chip, identify it before discarding anything. It may be a small glass capsule, carbon block or moulded chip placed in a dedicated recess rather than on the remote board.
Move the circuit board, battery and any separate transponder into the matching positions in the new shell. The board should sit flat without being bent or squeezed. If it rocks, sits above the locating posts or prevents the shell from closing, stop and compare the two casings. This is usually a sign that the shell is not the correct internal design.
Transfer the blade and flip mechanism with care. Depending on the key style, this may involve moving a retaining pin, blade carrier or spring-loaded assembly. Keep the spring under control and note its original orientation. If you are unsure about this stage, a locksmith or automotive key technician can complete the mechanical transfer without risking damage to the original electronics.
Once the new shell is closed, test each button before relying on the key. Check that the blade flips out and retracts properly, the button travel feels positive, and the casing does not separate when handled. Test remote locking and unlocking beside the vehicle, then confirm that the key starts the car normally.
When a shell replacement is not enough
A replacement shell is an excellent repair when the old button pad has worn through, the casing is cracked or the blade hinge has become tired. It is not a cure for every flip key fault.
If no buttons work after a fresh battery, the circuit board may have a fault. If only one function has failed and the external button is intact, the underlying microswitch could be worn or detached. A board repair may be possible for an experienced automotive electronics technician, but it requires the correct equipment and should not be confused with a simple shell transfer.
Water damage is another case where appearances can mislead. Corrosion can continue beneath the battery terminals or on the board even after the key has dried. If the remote operation is intermittent, inspect for residue, green corrosion or damaged contacts before fitting a new shell.
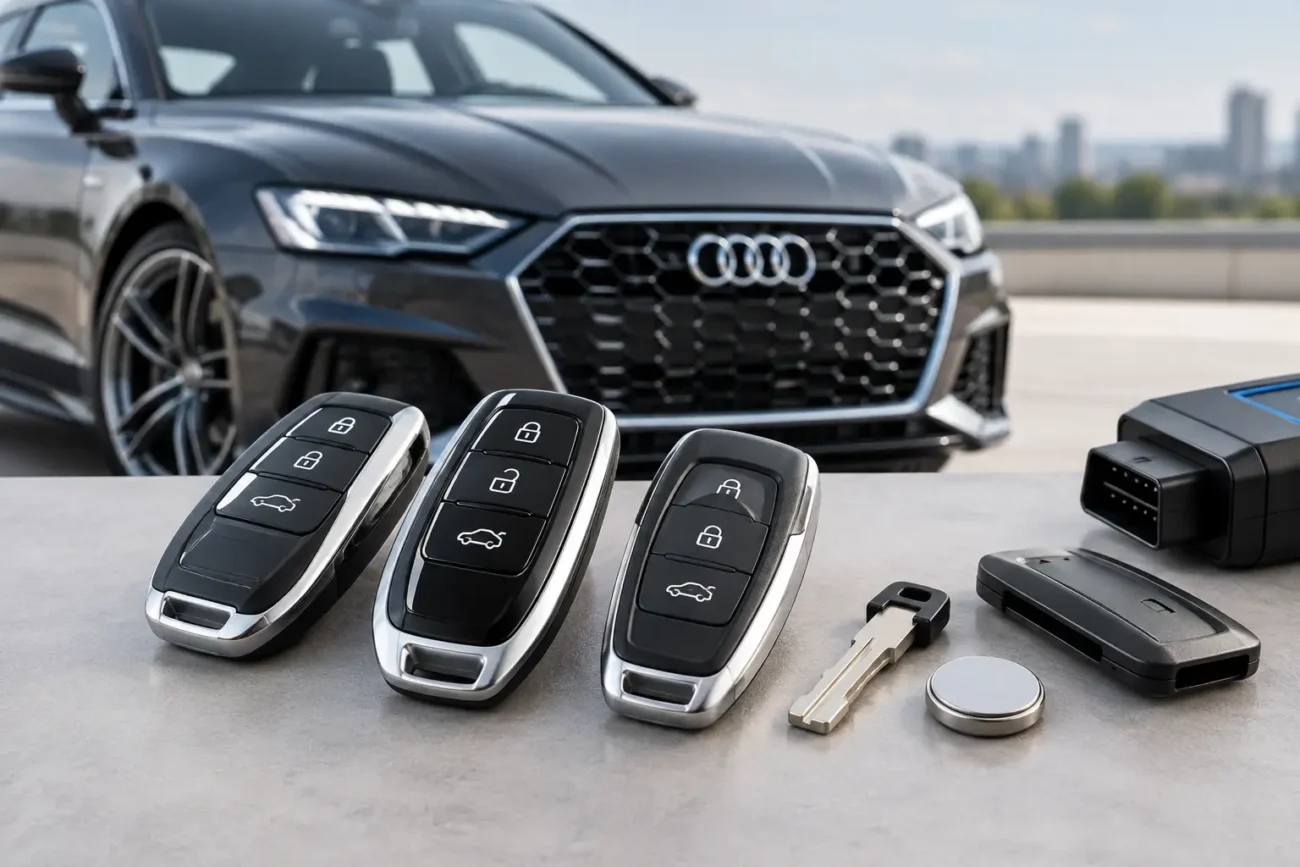
Where the original board, transponder or blade is missing, a complete replacement remote may be needed. That route can involve blade cutting and vehicle-specific programming. Check the exact product fitment, frequency, chip type and button configuration before ordering, rather than relying only on the vehicle badge.
Common mistakes to avoid
The most common mistake is transferring the circuit board but leaving behind a separate transponder chip in the old case. The remote may lock and unlock the car, yet the vehicle may not start because the immobiliser chip has not moved across.
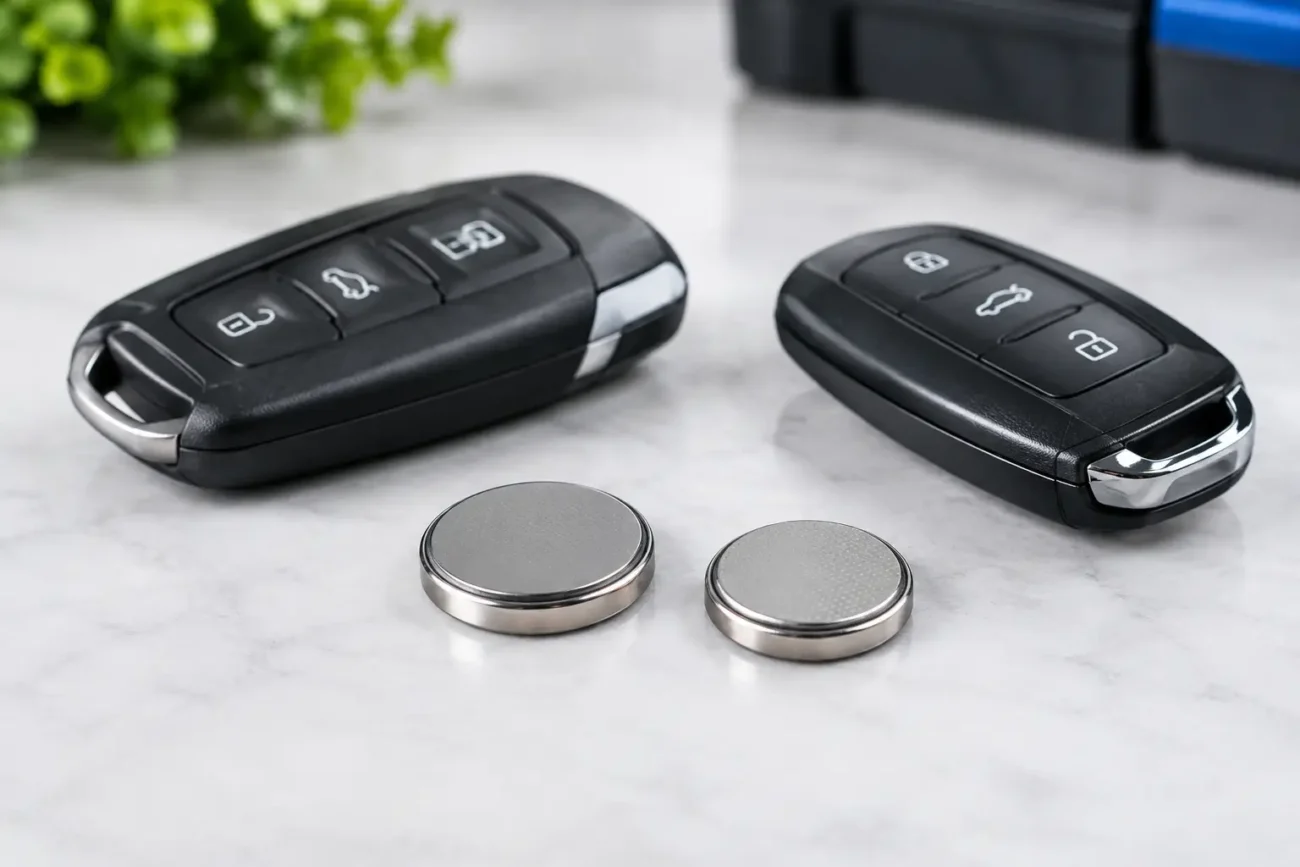
Another is reusing a weak battery simply because the key is already open. If the battery is near the end of its life, replacing it at the same time can avoid reopening the shell shortly afterwards. Match the battery reference and polarity exactly.
Finally, do not force an incorrect blade into a replacement shell. Similar-looking blades can differ in thickness, shoulder shape and pivot design. A poor fit can damage the flip mechanism or leave the blade loose when driving.
Global Keys Direct supplies model-specific replacement shells, remote cases, key blades and related key products for a wide range of vehicles, with fast UK delivery for drivers and trade buyers who need the correct part without dealership-level expense.
A worn flip key button does not automatically mean a worn-out key. Preserve the original working electronics, match the shell by its real compatibility details, and take care with the transponder and blade mechanism. Done properly, a small replacement part can put a dependable everyday key back in your pocket.
Add a review
Your email address will not be published. Required fields are marked *